14.5: Geologic Sketches
- Page ID
- 27031

\( \newcommand{\vecs}[1]{\overset { \scriptstyle \rightharpoonup} {\mathbf{#1}} } \)
\( \newcommand{\vecd}[1]{\overset{-\!-\!\rightharpoonup}{\vphantom{a}\smash {#1}}} \)
\( \newcommand{\dsum}{\displaystyle\sum\limits} \)
\( \newcommand{\dint}{\displaystyle\int\limits} \)
\( \newcommand{\dlim}{\displaystyle\lim\limits} \)
\( \newcommand{\id}{\mathrm{id}}\) \( \newcommand{\Span}{\mathrm{span}}\)
( \newcommand{\kernel}{\mathrm{null}\,}\) \( \newcommand{\range}{\mathrm{range}\,}\)
\( \newcommand{\RealPart}{\mathrm{Re}}\) \( \newcommand{\ImaginaryPart}{\mathrm{Im}}\)
\( \newcommand{\Argument}{\mathrm{Arg}}\) \( \newcommand{\norm}[1]{\| #1 \|}\)
\( \newcommand{\inner}[2]{\langle #1, #2 \rangle}\)
\( \newcommand{\Span}{\mathrm{span}}\)
\( \newcommand{\id}{\mathrm{id}}\)
\( \newcommand{\Span}{\mathrm{span}}\)
\( \newcommand{\kernel}{\mathrm{null}\,}\)
\( \newcommand{\range}{\mathrm{range}\,}\)
\( \newcommand{\RealPart}{\mathrm{Re}}\)
\( \newcommand{\ImaginaryPart}{\mathrm{Im}}\)
\( \newcommand{\Argument}{\mathrm{Arg}}\)
\( \newcommand{\norm}[1]{\| #1 \|}\)
\( \newcommand{\inner}[2]{\langle #1, #2 \rangle}\)
\( \newcommand{\Span}{\mathrm{span}}\) \( \newcommand{\AA}{\unicode[.8,0]{x212B}}\)
\( \newcommand{\vectorA}[1]{\vec{#1}} % arrow\)
\( \newcommand{\vectorAt}[1]{\vec{\text{#1}}} % arrow\)
\( \newcommand{\vectorB}[1]{\overset { \scriptstyle \rightharpoonup} {\mathbf{#1}} } \)
\( \newcommand{\vectorC}[1]{\textbf{#1}} \)
\( \newcommand{\vectorD}[1]{\overrightarrow{#1}} \)
\( \newcommand{\vectorDt}[1]{\overrightarrow{\text{#1}}} \)
\( \newcommand{\vectE}[1]{\overset{-\!-\!\rightharpoonup}{\vphantom{a}\smash{\mathbf {#1}}}} \)
\( \newcommand{\vecs}[1]{\overset { \scriptstyle \rightharpoonup} {\mathbf{#1}} } \)
\(\newcommand{\longvect}{\overrightarrow}\)
\( \newcommand{\vecd}[1]{\overset{-\!-\!\rightharpoonup}{\vphantom{a}\smash {#1}}} \)
\(\newcommand{\avec}{\mathbf a}\) \(\newcommand{\bvec}{\mathbf b}\) \(\newcommand{\cvec}{\mathbf c}\) \(\newcommand{\dvec}{\mathbf d}\) \(\newcommand{\dtil}{\widetilde{\mathbf d}}\) \(\newcommand{\evec}{\mathbf e}\) \(\newcommand{\fvec}{\mathbf f}\) \(\newcommand{\nvec}{\mathbf n}\) \(\newcommand{\pvec}{\mathbf p}\) \(\newcommand{\qvec}{\mathbf q}\) \(\newcommand{\svec}{\mathbf s}\) \(\newcommand{\tvec}{\mathbf t}\) \(\newcommand{\uvec}{\mathbf u}\) \(\newcommand{\vvec}{\mathbf v}\) \(\newcommand{\wvec}{\mathbf w}\) \(\newcommand{\xvec}{\mathbf x}\) \(\newcommand{\yvec}{\mathbf y}\) \(\newcommand{\zvec}{\mathbf z}\) \(\newcommand{\rvec}{\mathbf r}\) \(\newcommand{\mvec}{\mathbf m}\) \(\newcommand{\zerovec}{\mathbf 0}\) \(\newcommand{\onevec}{\mathbf 1}\) \(\newcommand{\real}{\mathbb R}\) \(\newcommand{\twovec}[2]{\left[\begin{array}{r}#1 \\ #2 \end{array}\right]}\) \(\newcommand{\ctwovec}[2]{\left[\begin{array}{c}#1 \\ #2 \end{array}\right]}\) \(\newcommand{\threevec}[3]{\left[\begin{array}{r}#1 \\ #2 \\ #3 \end{array}\right]}\) \(\newcommand{\cthreevec}[3]{\left[\begin{array}{c}#1 \\ #2 \\ #3 \end{array}\right]}\) \(\newcommand{\fourvec}[4]{\left[\begin{array}{r}#1 \\ #2 \\ #3 \\ #4 \end{array}\right]}\) \(\newcommand{\cfourvec}[4]{\left[\begin{array}{c}#1 \\ #2 \\ #3 \\ #4 \end{array}\right]}\) \(\newcommand{\fivevec}[5]{\left[\begin{array}{r}#1 \\ #2 \\ #3 \\ #4 \\ #5 \\ \end{array}\right]}\) \(\newcommand{\cfivevec}[5]{\left[\begin{array}{c}#1 \\ #2 \\ #3 \\ #4 \\ #5 \\ \end{array}\right]}\) \(\newcommand{\mattwo}[4]{\left[\begin{array}{rr}#1 \amp #2 \\ #3 \amp #4 \\ \end{array}\right]}\) \(\newcommand{\laspan}[1]{\text{Span}\{#1\}}\) \(\newcommand{\bcal}{\cal B}\) \(\newcommand{\ccal}{\cal C}\) \(\newcommand{\scal}{\cal S}\) \(\newcommand{\wcal}{\cal W}\) \(\newcommand{\ecal}{\cal E}\) \(\newcommand{\coords}[2]{\left\{#1\right\}_{#2}}\) \(\newcommand{\gray}[1]{\color{gray}{#1}}\) \(\newcommand{\lgray}[1]{\color{lightgray}{#1}}\) \(\newcommand{\rank}{\operatorname{rank}}\) \(\newcommand{\row}{\text{Row}}\) \(\newcommand{\col}{\text{Col}}\) \(\renewcommand{\row}{\text{Row}}\) \(\newcommand{\nul}{\text{Nul}}\) \(\newcommand{\var}{\text{Var}}\) \(\newcommand{\corr}{\text{corr}}\) \(\newcommand{\len}[1]{\left|#1\right|}\) \(\newcommand{\bbar}{\overline{\bvec}}\) \(\newcommand{\bhat}{\widehat{\bvec}}\) \(\newcommand{\bperp}{\bvec^\perp}\) \(\newcommand{\xhat}{\widehat{\xvec}}\) \(\newcommand{\vhat}{\widehat{\vvec}}\) \(\newcommand{\uhat}{\widehat{\uvec}}\) \(\newcommand{\what}{\widehat{\wvec}}\) \(\newcommand{\Sighat}{\widehat{\Sigma}}\) \(\newcommand{\lt}{<}\) \(\newcommand{\gt}{>}\) \(\newcommand{\amp}{&}\) \(\definecolor{fillinmathshade}{gray}{0.9}\)The importance of sketching
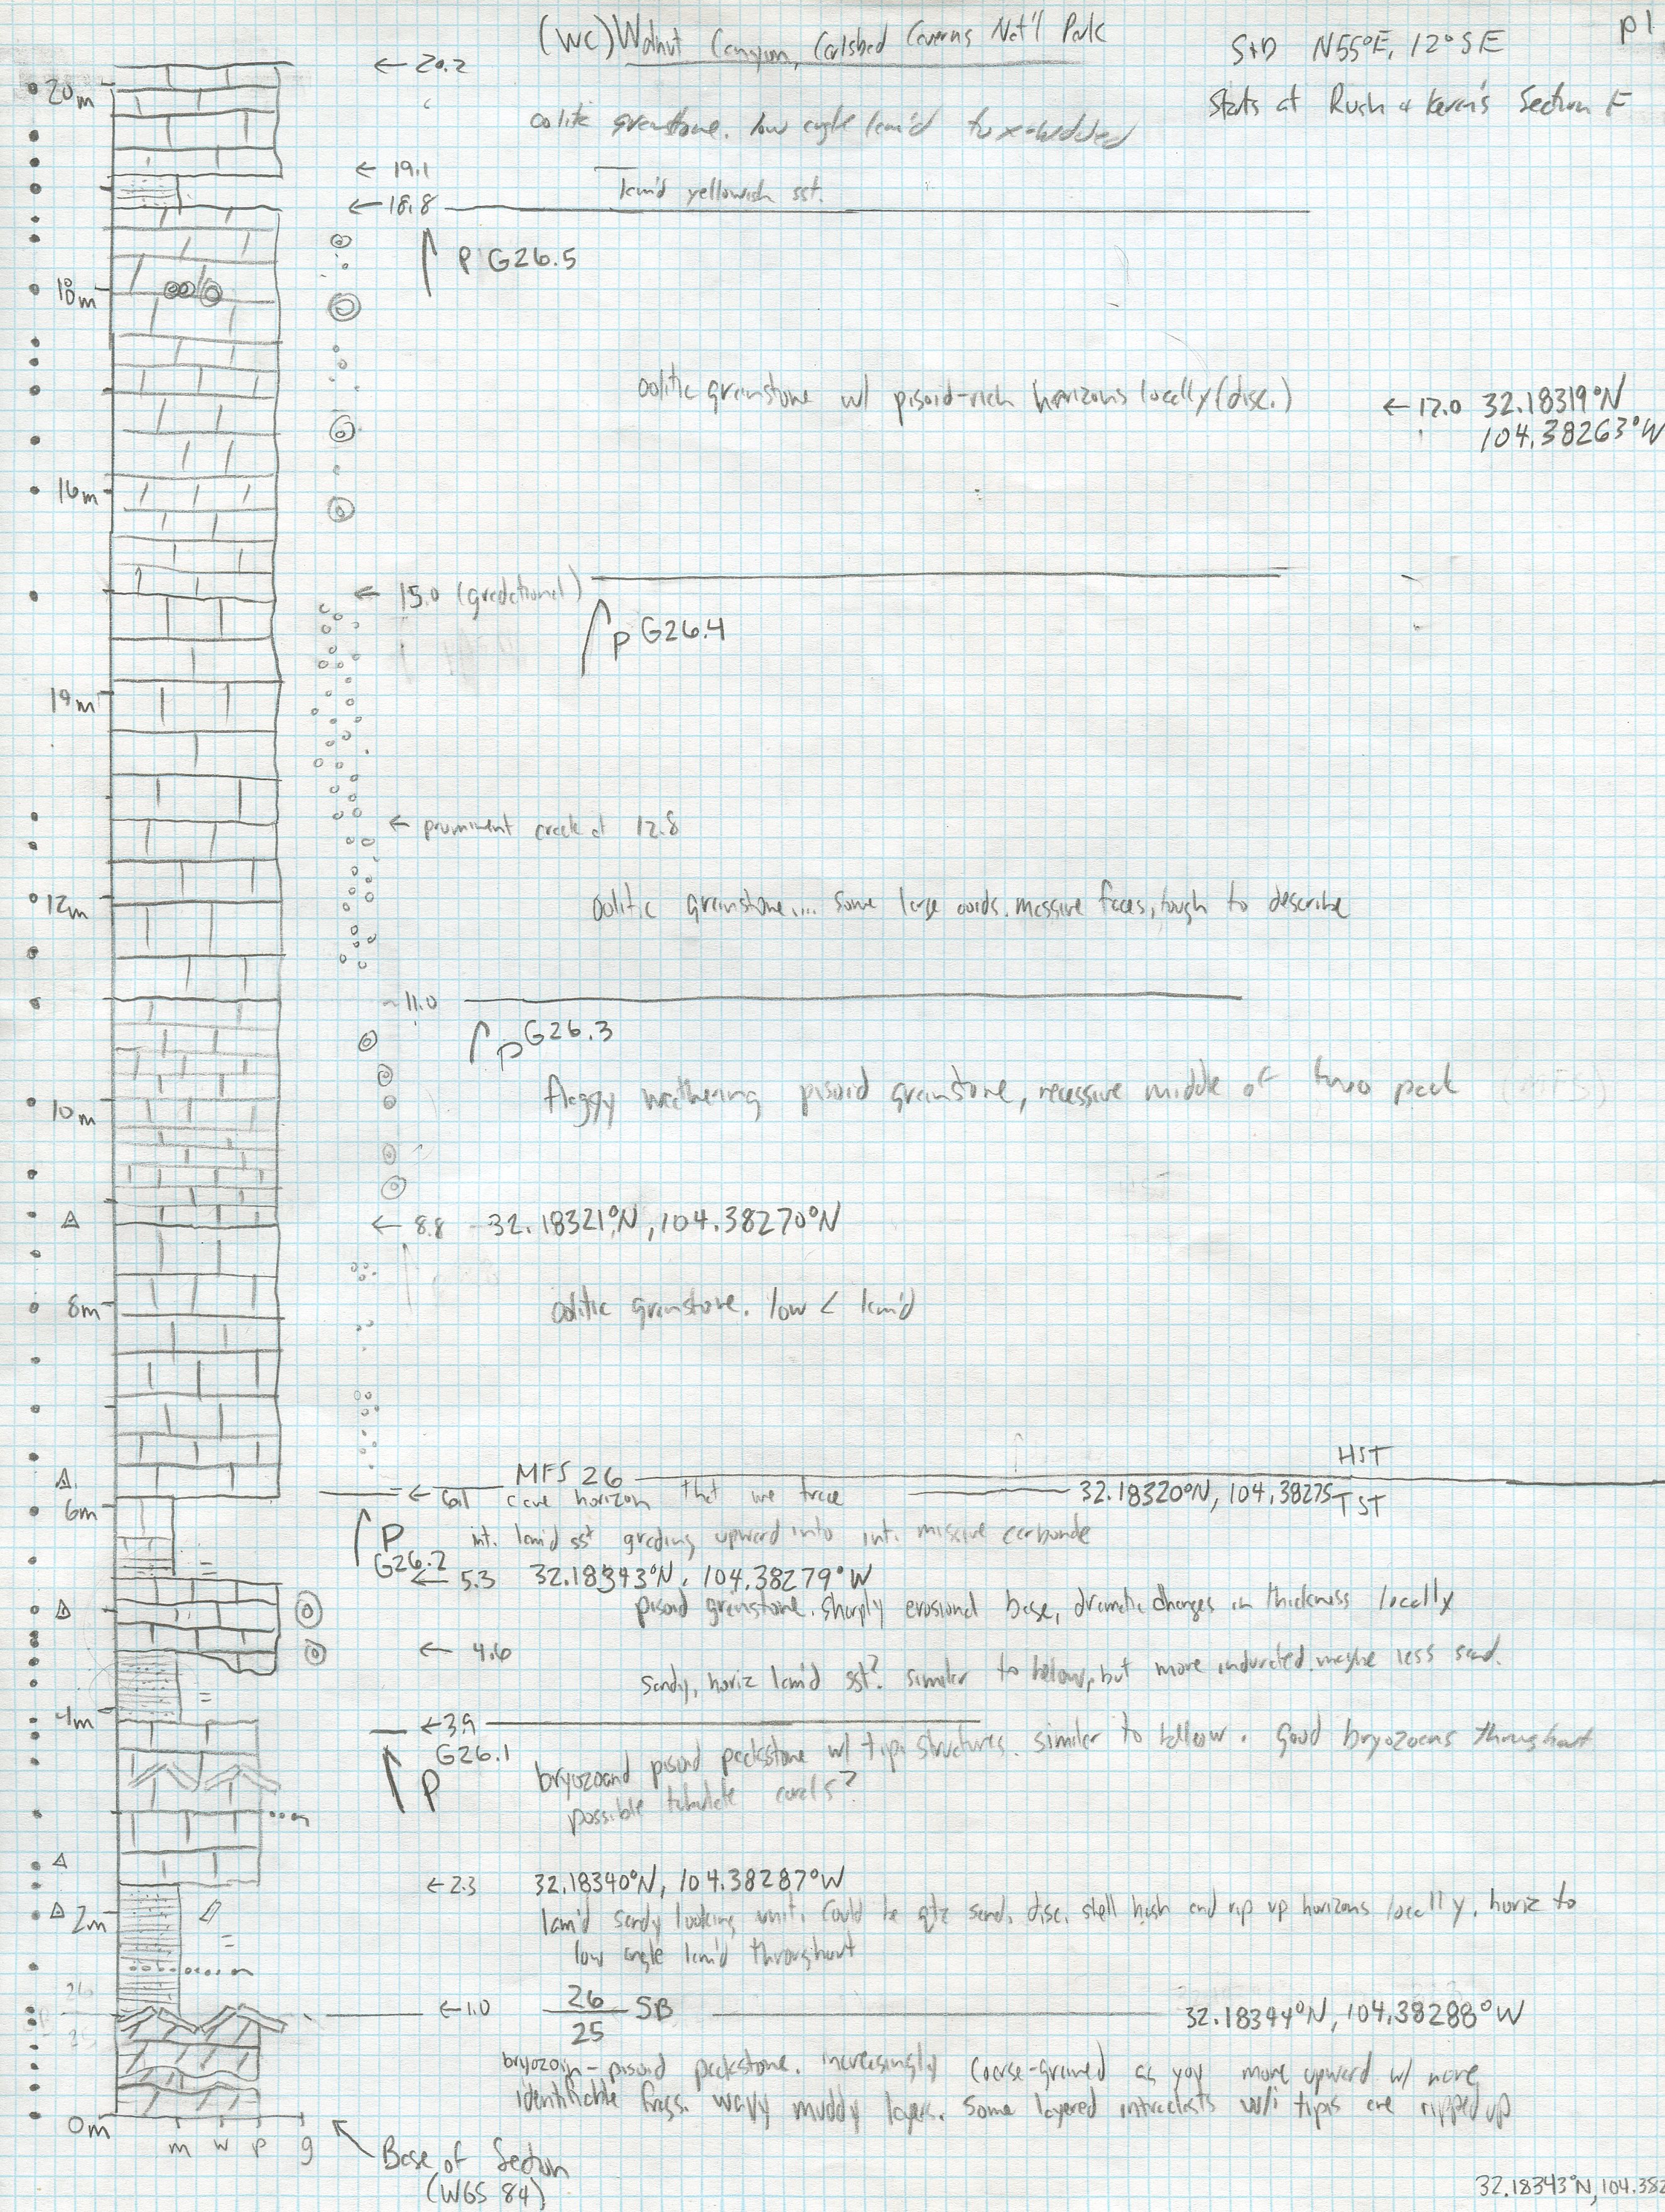
Sketches are an effective way for geologists to quickly and effectively convey key geologic observations and relationships. They began out of necessity at a time when the only way to convey what you were seeing was a sketch or a written description. Although technology now allows us to take photographs and even make three dimensional models, sketches remain an important way to capture information because they allow the creator to highlight things that are important, de-emphasize things that are not, and convey what it all means. The example in Figure 1 shows an outcrop-scale sketch; other common types/scales including: views through a microscope (see 5: Siliciclastic Sedimentary
Sketching is a skill that can be learned and does not require someone to be a gifted artist; it just requires neatness and a plan. In fact, a good sketch does not require photo-realism, but rather a simplified portrayal that conveys geologic realism. In many cases, annotations on sketches are of greater or equal value than the artwork itself.

Notebook best practices
A geologic sketch is just one part of the geologist's notebook. No matter whether you are in the field, in a lab, or looking through a microscope, a notebook is an extremely important tool for geologic data collection. The details will vary based on the task, but in general, one's notebook entry for a day/project should include:
- A descriptive heading
- Day, date, time
- Location - as appropriate this could include coordinates, sketch map, access details, etc.
- Overview of goals/objectives
- Names of field party or collaborators
- Notes on weather, challenges, or anything extraordinary that might help you recall the specifics of that day.
- Pencil is generally much better for making detailed sketches because it allows you to erase.
How to make a sketch
- Identify the subject of your sketch and think about what is most important about it.
- Define the limits of the subject and orient your notebook in a way that matches with the layout of the subject. Paper is relatively inexpensive and its typically worth it to center the drawing in the page and give yourself ample margins for annotations.
- Frame the subject by using a few simple strokes to outline its basic shape in the area you've allotted for the drawing. Don't start with detailed lines, that is a great way to run out of room or end up with inaccurate proportions. Instead, begin with a few simple strokes and then come back and modify them if needed. Things like edges of a feature, the skyline, and/or the boundaries with the background and foreground are good things to start with.
- Once you've framed the edges of the subject, you should start making lines that represent the most important geologic features. You can and should use artistic license to show things that might not be obvious given the perspective that you are drawing from. Most commonly the major geologic lines are going to be things like:
- Stratification - to shows changes in orientation and boundaries between units
- Edges of grains, clasts, fossils to show things like size, shape, orientation, and changes in these characteristics
- Structural features like folds, faults, and cleavage - these features are often easier to draw if done in combination the things listed above.
- Remember that you should show only the most important features.
- Remember that if you can't show everything that you need to with a sketch of a given scale that you can use things like pop-out windows to illustrate details.
- Use subtle labels or lines/shading to show things like talus and vegetation to help the viewer link the drawing to the view. You can also use geologically-appropriate fill patterns to help show lithology, texture, etc. Avoid cross-hatching and other bold geometric patterns because they can confuse the reader.
- Annotate your drawing to make it obvious to yourself and others what you are drawing and why. If you can show everything that you need to, remember that you can have windows that show enlarged areas.
- Give the drawing a title, a vertical and horizontal scale bar, and a label to indicate perspective (facing north, map view, cross-sectional view, etc.). Be sure to record structural data if appropriate